Mary’s Gingerbread House

Christmas is approaching fast. Too fast.

But I am looking forward to it and once again, I want to make it special.

For the boys in the family (the little ones and the other ones).

One of my resolutions this year is to bin all the Christmas decorations accumulated over the years (many of them – years and decorations) and come up with a cool and funky tree. So far I have bought 2 sets of outdoors and indoors white lights – not ideal.

And then there is the Christmas menu. And before and after. So I bought the best seller of this year (for me and for my friend who is under the same pressure this year) for ideas: http://www.amazon.co.uk/Great-British-Bake-Off-Christmas/dp/1849906963.

All the recipes look great. And much more practical than the ones in Tom Kerridge’s book (that I bought last Christmas for similar reasons). His TV program seemed promising. However at the end there was only one recipe which could be made on the same day without 2 days of prep.

Not my style (it was delicious though – I actually did the lamb shoulder one and the Christmas roll one. If you follow the recipe, it works). http://www.amazon.co.uk/Tom-Kerridges-Proper-Pub-Food/dp/1472903536.

So yesterday I tried to bake Mary’s gingerbread house. My youngest one (Bug 2) has seen one of these in our local bakery and had asked me to bake one, so I thought, why not?

I can tell you now why not. On paper, it is really easy to make.

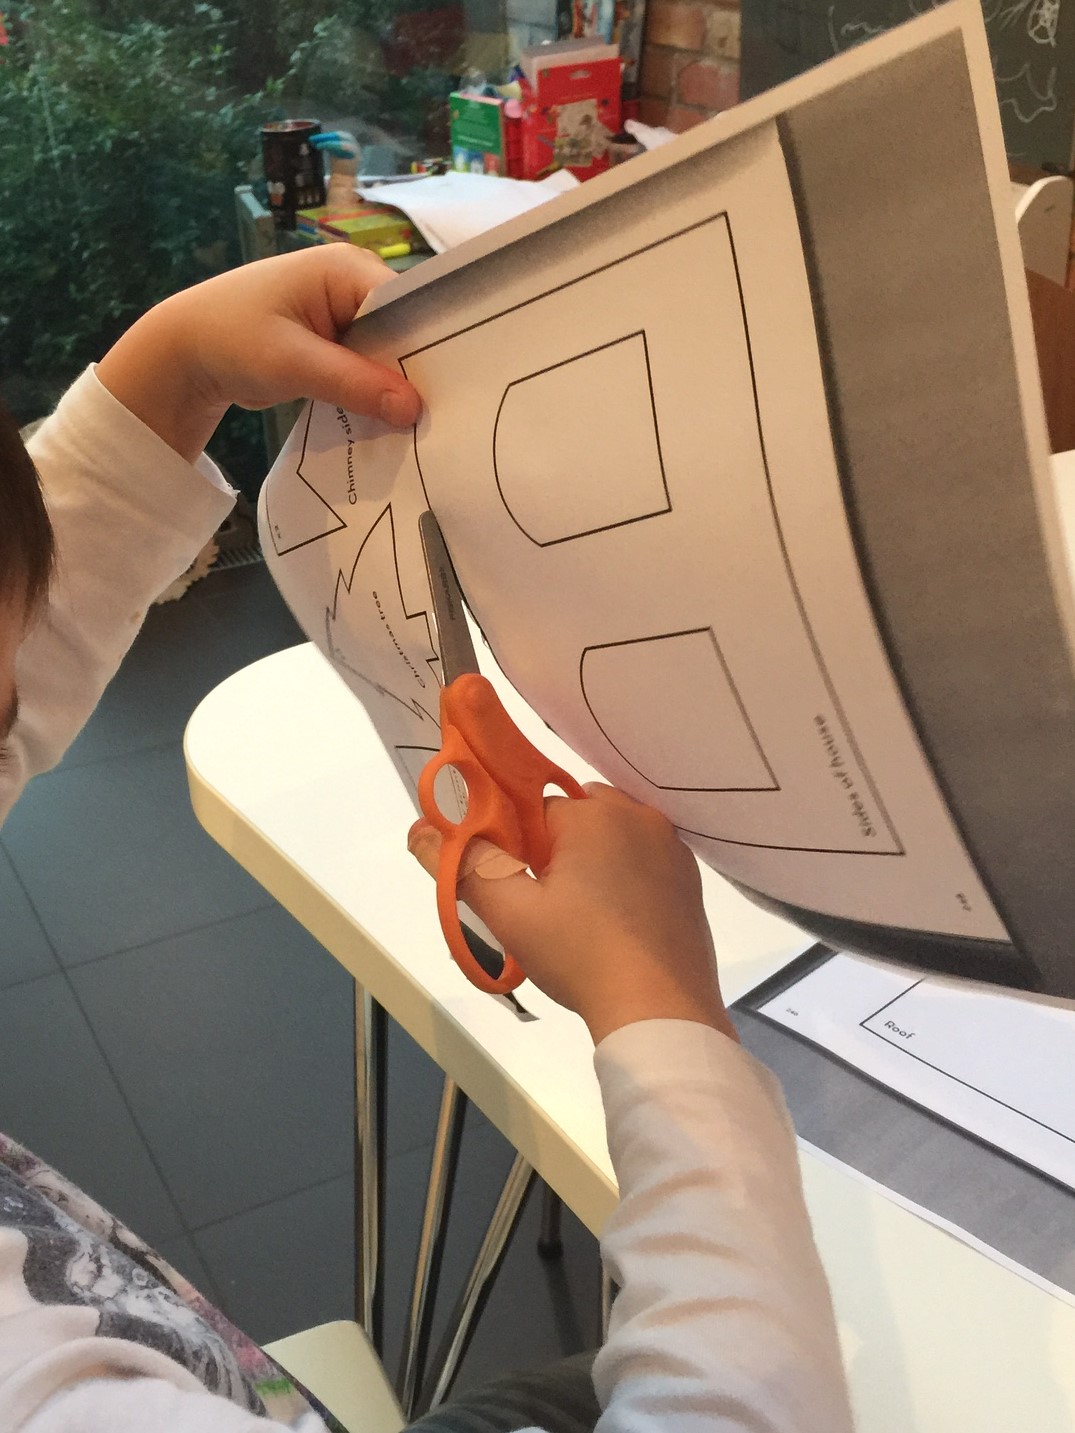
So I got all excited. The boys joined in, we went shopping for ingredients together, they cut out the templates.

012f2248419396819f2323401da4587c2fb7fa1177 (2)

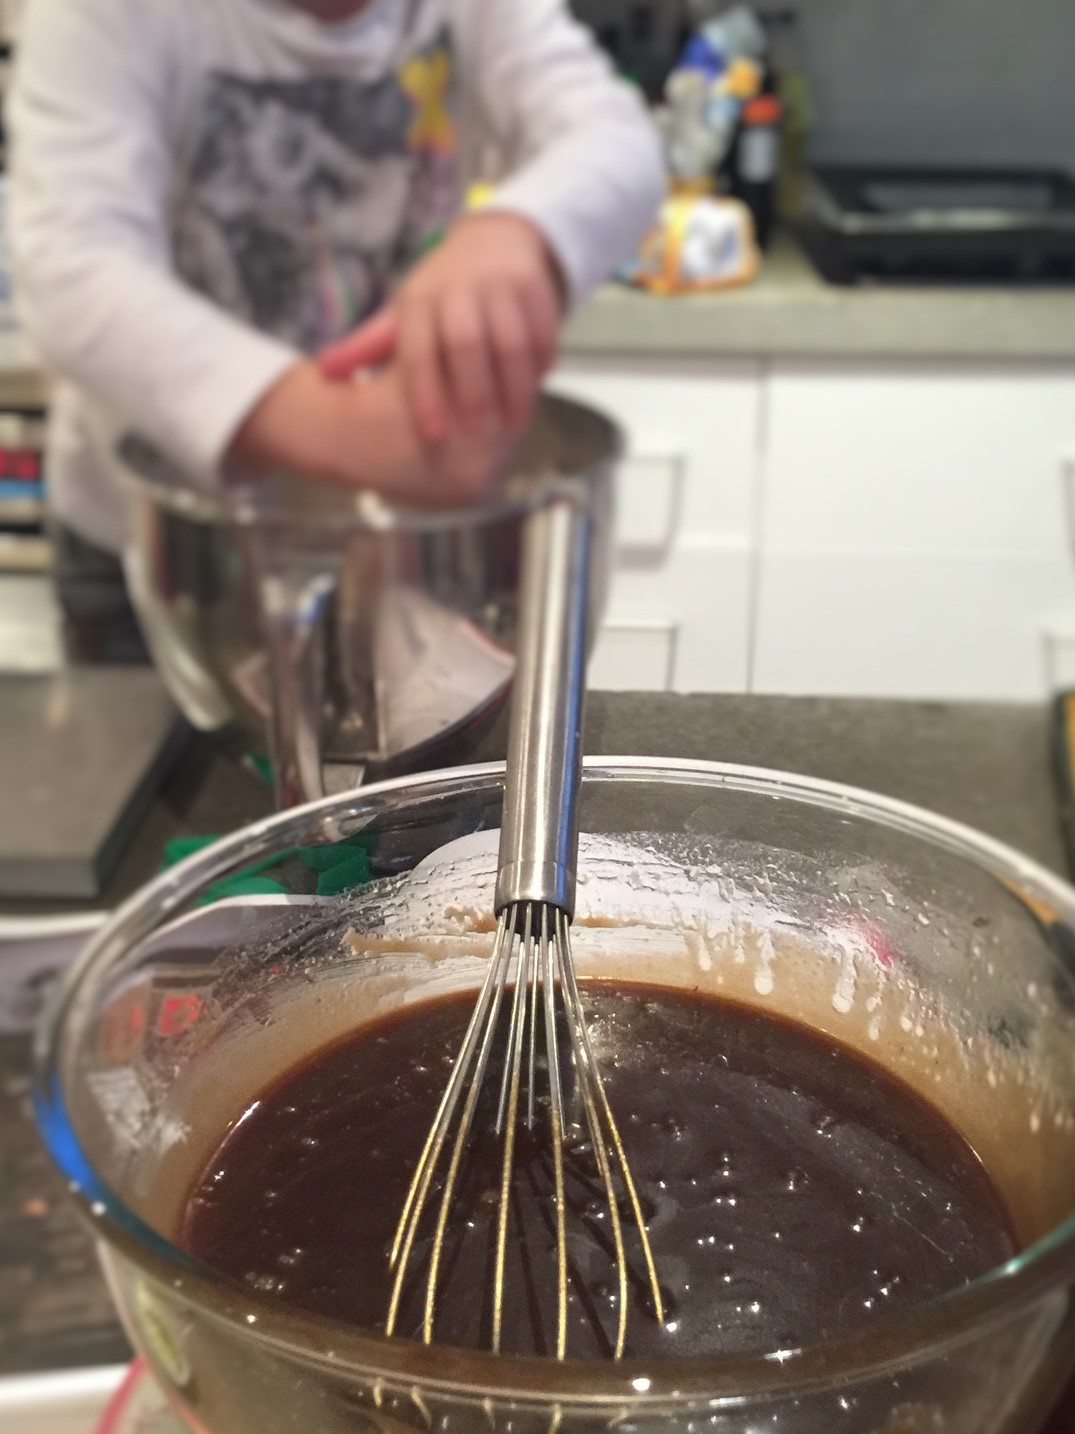
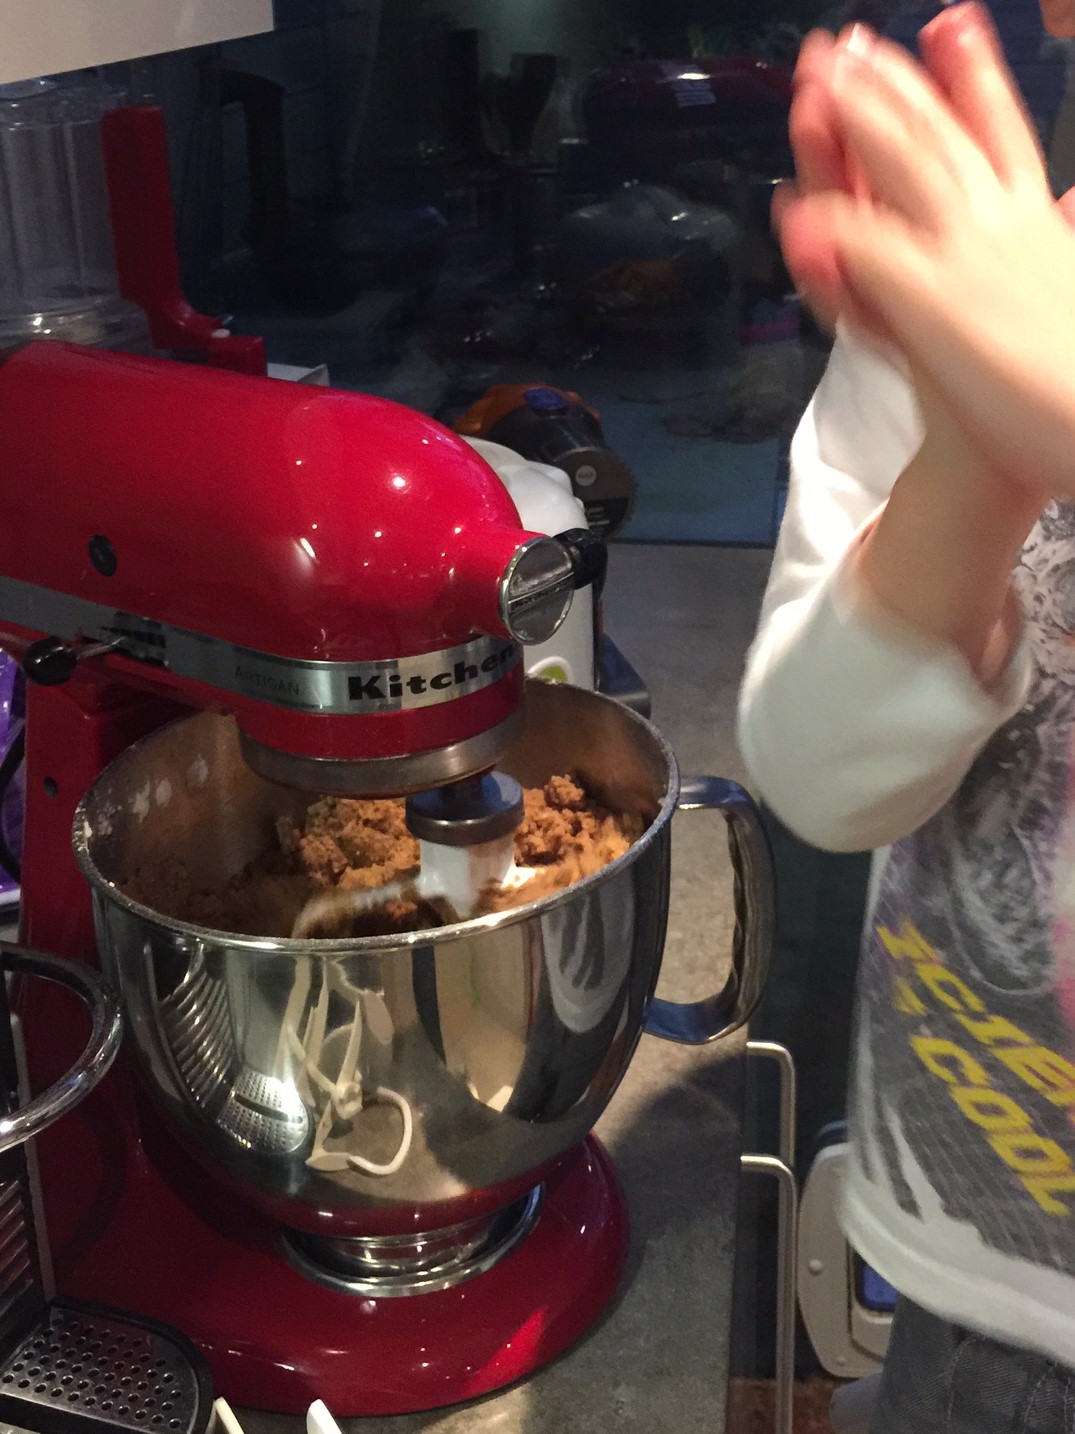
Bug 2 helped with the dough (testing it mainly). So far so good (use the flat beater).

01f7a87729fbc795d7686ba417856e8a9a72c46fbd (3) 019fcd332e369218e13d619a47e6f3e4577e359c2c (2)

Then it all started.. Or more precisely never ended (felt like it at least).

Because it does take ages to roll the dough and cut all the shapes. You will need three large baking trays indeed (I initially thought why three), but I would recommend to bake each tray as they are ready (try to put similar size shapes together and adjust the baking time accordingly. 10 minutes for the small ones and 8 + 4 minutes (no more) for the larger ones).

Also, get the boiled sweets crushed as finely as possible (sand like as it says in the recipe – big lumps do not melt really well) and triple the amount required. Fill one shape at the time as the sugar melts and then solidifies quite quickly. Then don’t be lazy (or in a rush, or give up).

014910b11b959ca934de39470cf43563a353d6cd9f

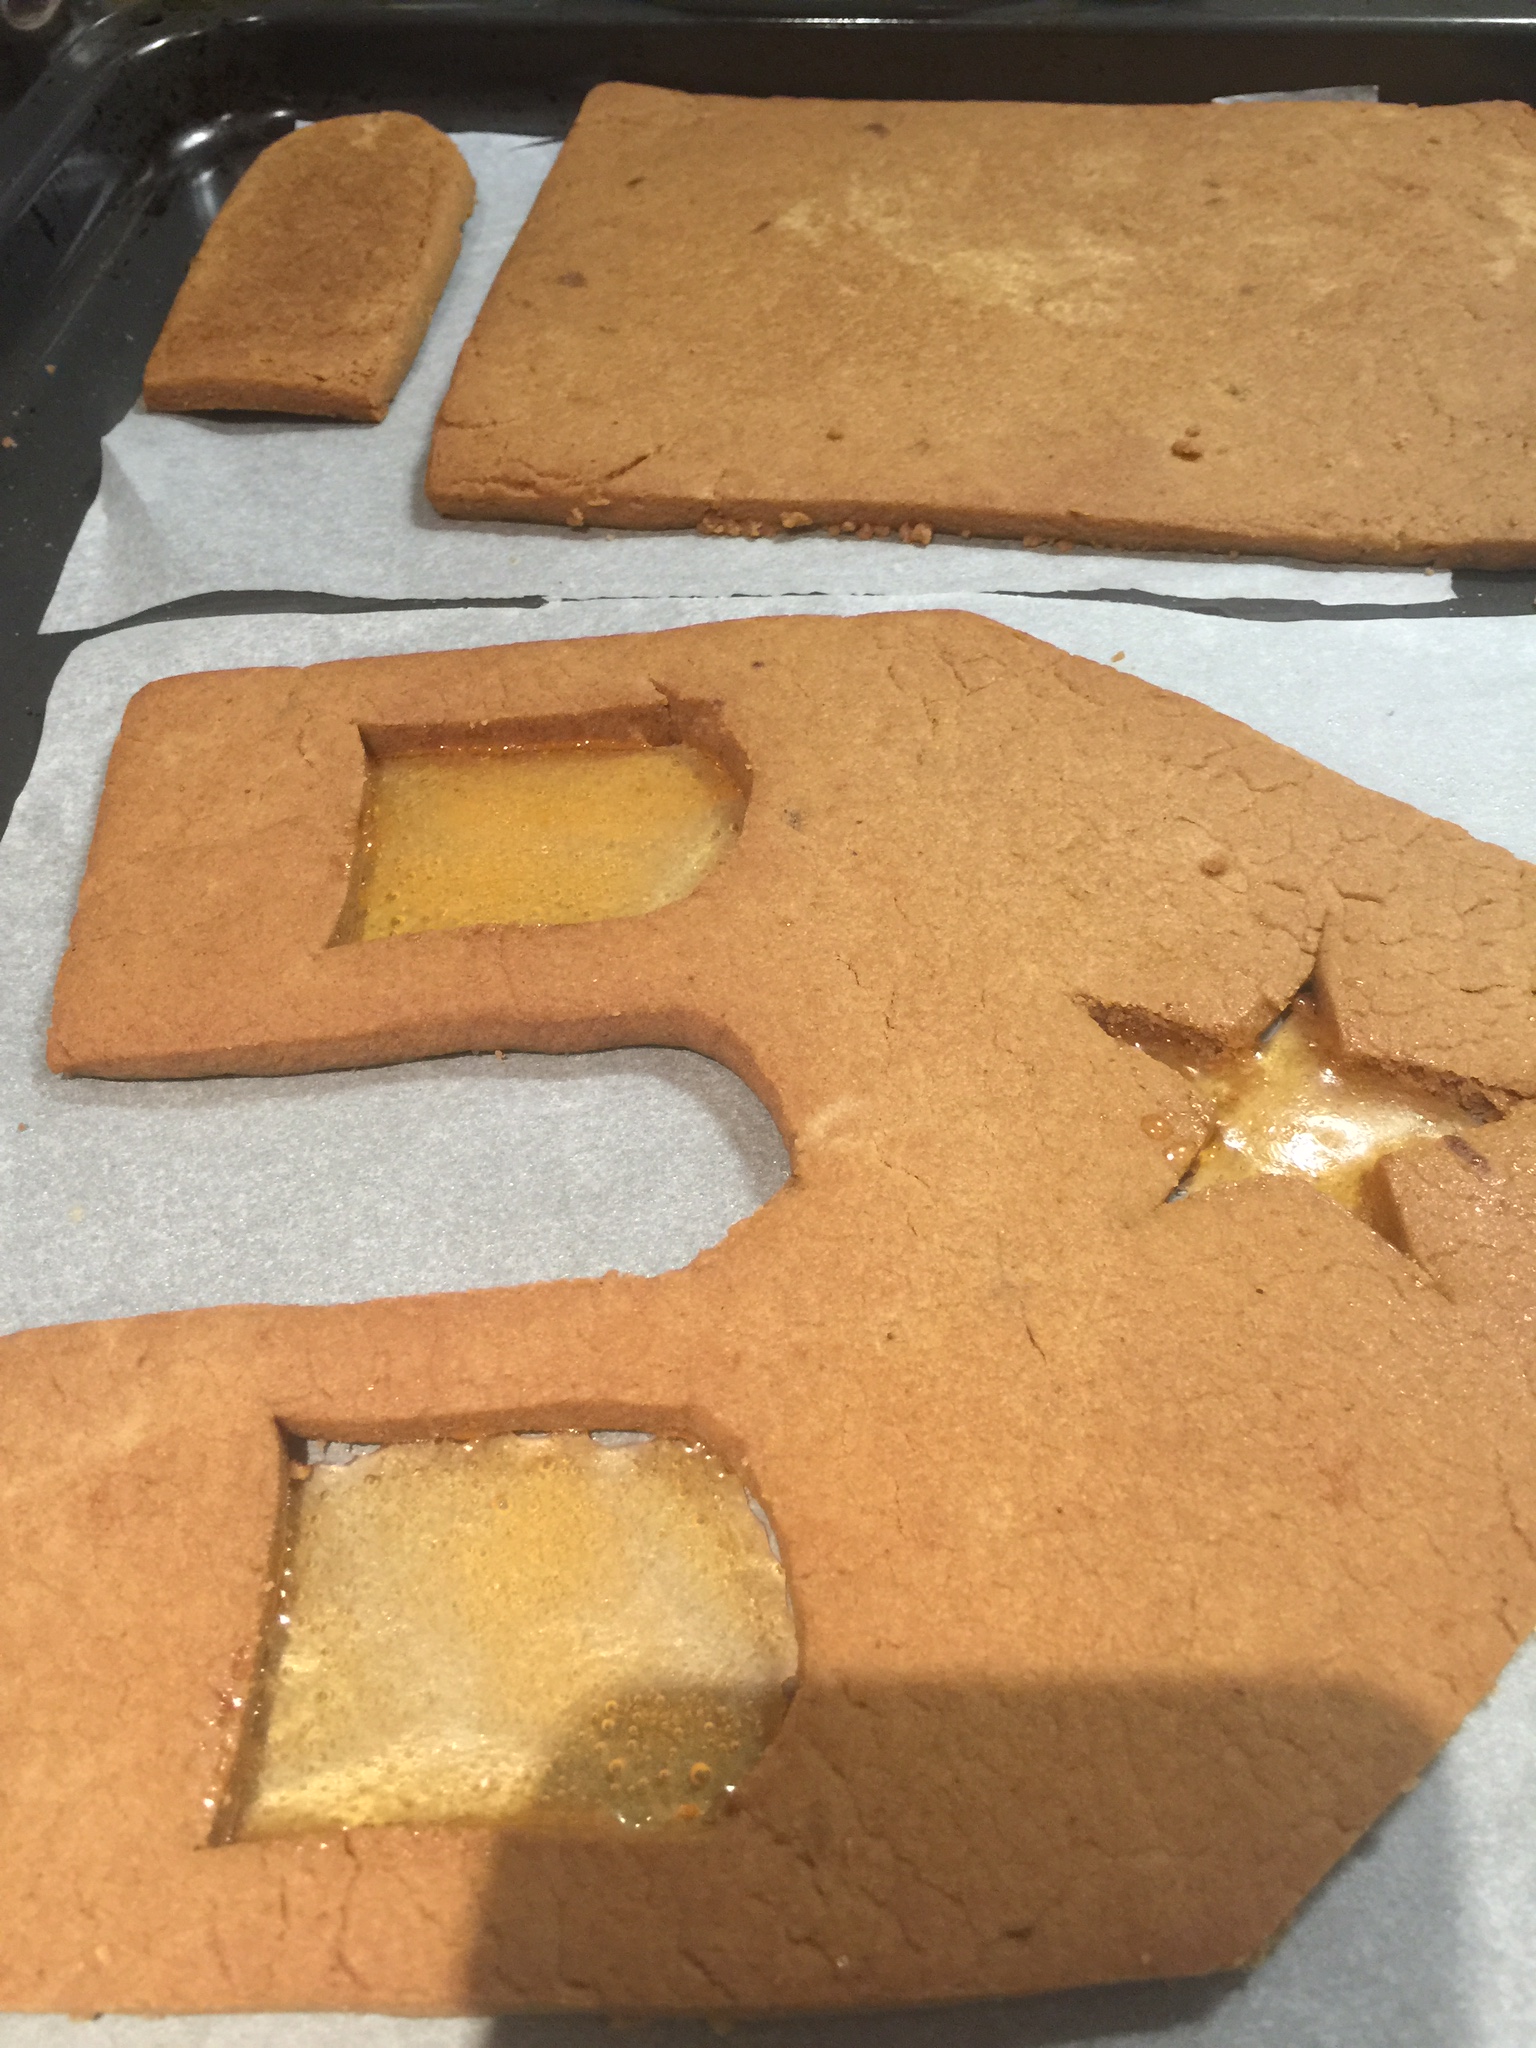
For instance, the recipe says to wait a few minutes after the biscuits are out of the oven and to reshape if necessary – do so. It will help with assembling the final structure.

01982096e6ef0199cfeab675436d0bccc735e459d2 (2)

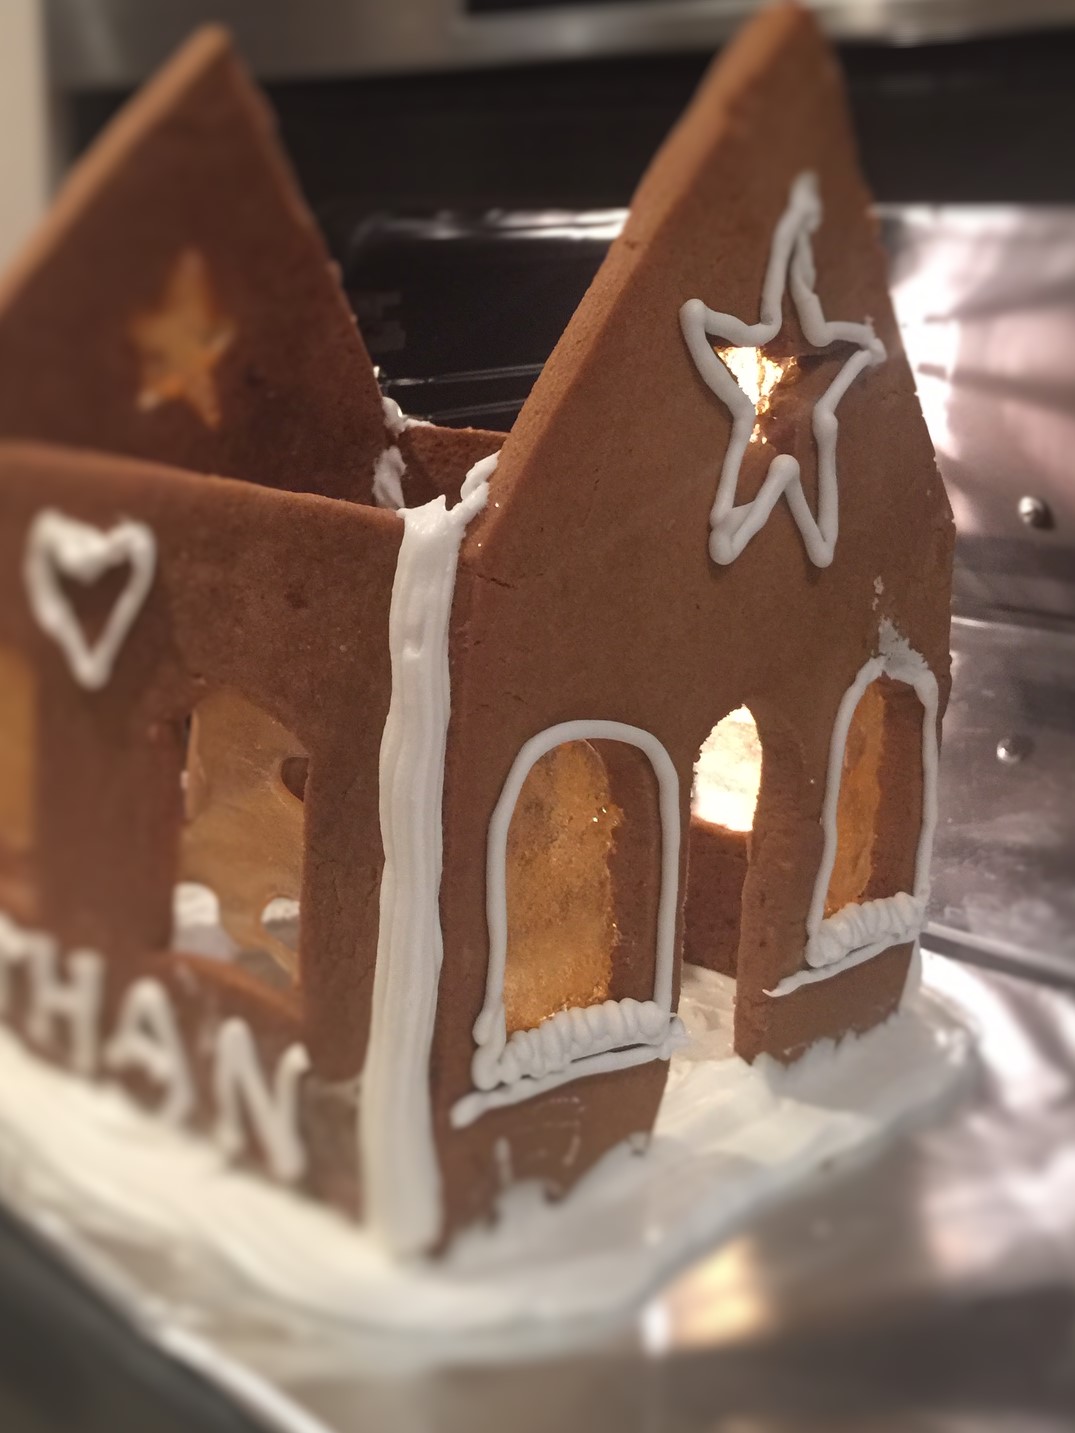
I didn’t reshape anything, I used lumps of boiled candy, but at the end, it kind of worked. Would I do it again? Probably not.

But the house (our one, not the gingerbread one) smelled lovely for a while and the boys loved it (the gingerbread one, not our one). Very yummy and kind of cute, despite my poor architect skills (especially when lit up with a tea candle).

010898316c2db5aee056d32e69dec3d0909bb23123 (2) 01faca54f8d8890124648b3bfad73c39f9fac9f667 (2)

If you plan to do it once, do it just before Christmas, as it may well be the last time, but it will still impress!

Job done!

Macaroons for Dummies

The school Christmas market was on Saturday and parents had been asked to bring items to be sold on the day (that was an easy one, I had some spare candles I had bought on sale and a couple of books that I had bought for my boys… twice).

But then we were also supposed to bring some food. Cookies, cupcakes, quiches, etc. This is where it all started.. again. Driven by a combination of “I love baking and challenging myself” and (let’s be honest) “I want to impress and I want my children to be proud”, I baked a gooey chocolate cake (http://www.greenandblacks.co.uk), but in a bear face tin and coated in gold dust. Wow! That was 2 years ago.

Last year, I invested in a full baking set for cake pops (thank you http://www.lakeland.co.uk/15917/Sweet-Treats-Cake-Pop-Maker). The result was quite impressive I must say – the minute we arrived at school, they were sold in about 10 mins.

IMG_4011

So this year, I had to step up my game… So it had to be macaroons. These little treats which cost a fortune but which are so yummy and that everyone tries to bake at home and fails.

And it worked. The second time. After few hours spent in searching, comparing and testing, I am proud to share my “Macaroons for Dummies” recipe.


Tools:

A mixer (you will need the whisk and the flat beater)

A food processor

A large piping bag (with the large 1.5cm nozzle)

A baking tray (ideally perforated)

An oven tray (upside down)

A sheet of baking parchment roll

A shot glass and a pencil (or anything to draw circles)

Ingredients:

For the macaroons:

3 egg whites – about 90g (old ones – ideally, cracked and kept in the fridge the night before and at room temperature)

30g caster sugar

120g ground almond

200g icing sugar

15g cocoa powder

Food colouring

For the filling:

30cl + 90cl (liquid) double cream

3g honey

60g white chocolate

Off we go:

Pre-heat the oven at 150º (fan assisted)

Roast the ground almond for 10mins (this enhances the flavour and removes the humidity)

Ground the ground almond (it’s not a typo), the icing sugar (that very thin one) and the (powdered) cocoa powder in the food processor as long as you want – this is key. First time I tried the recipe, I was lazy – the result tasted good but did not look like macaroons (other errors were also committed however).

Put the oven tray upside down in the oven in the middle part of the oven.

With the whisk, beat the egg whites first gently (speed 2 with a kitchen aid mixer) until it foams. Add a third of the caster sugar, then increase the speed  (to 4), then alternate adding sugar and increasing speed until it forms (more than) soft peaks. I always tip the bowl over as a check.

Add the food colouring (2 drops) and mix at low speed (1) for one minute.

Then switch to the flat beater. Put all the powdered powder and mix at low speed (2) until fully incorporated. When you stop the mixer, the macaroni dough should be all smooth and shiny. If lifted with a spatula, it should form a ribbon.

Draw some nice circles on the paper.

Fill the piping bag. Tip: block the access to the nozzle with a clip so that the dough does not escape as you fill up the bag and remove all the air at the top before piping.

Fill the circles between half to two-third. The dough will expand and fill the circles.

Tap the baking tray on the kitchen top a few times and leave to “crust” for at least 45 minutes (not where your cats can have a taste)

Bake for 11 minutes (placing the baking tray on top of the upside down oven tray).

When the macaroons are cooked, clean the kitchen top with a wet cloth and  pull the macaroon sheet on top. With the steam, it will be easy to remove the macaroons.

In the meantime, melt the white chocolate in the microwave, heat up 30g of cream with the honey and mix it all up together. Once it has cooled down, incorporate 90g of cream and leave in the fridge until the macaroons have cooled down.

Whip the white chocolate cream and fill up the macaroons.

Leave to rest (open) for one night in the fridge.

Bon appetit!